
Every year at Christmas time the LED’s start to shine. Since I’m like a moth around flashy lights, I have been doing a version of this project every year since I got my first Arduino. This year it’s going to be an LED Strip frame for the front window. There are two versions, this (easy) one with Arduino UNO and a more advanced version with ESP8266 (WiFi controlled)
What you will need for the project:


That’s everything, unless you want this to be super bright, in which case you will need some way to power it externally. I have minimized the brightness in the code, so that the strip can be powered by the UNO’s 5v output. Your Arduino UNO WILL NOT be able to power 5m of LED strip at full brightness. However, the Robotdyne Super Power version I use and recommend has a better chance of withstanding this type of abuse.
*please note: I can not be held responsible for any melted micro-controllers or LED strip. The following project worked for me, that’s as much as I can say, however I wouldn’t necessarily leave it running when I leave the house. It is recommended on many Arduino forums to have at least a 1000 uF capacitor between 5v and GND (before the LED strip) and also a 500 Ohm resistor before the Data line. Please see https://learn.adafruit.com/adafruit-neopixel-uberguide/powering-neopixels for some more tips.
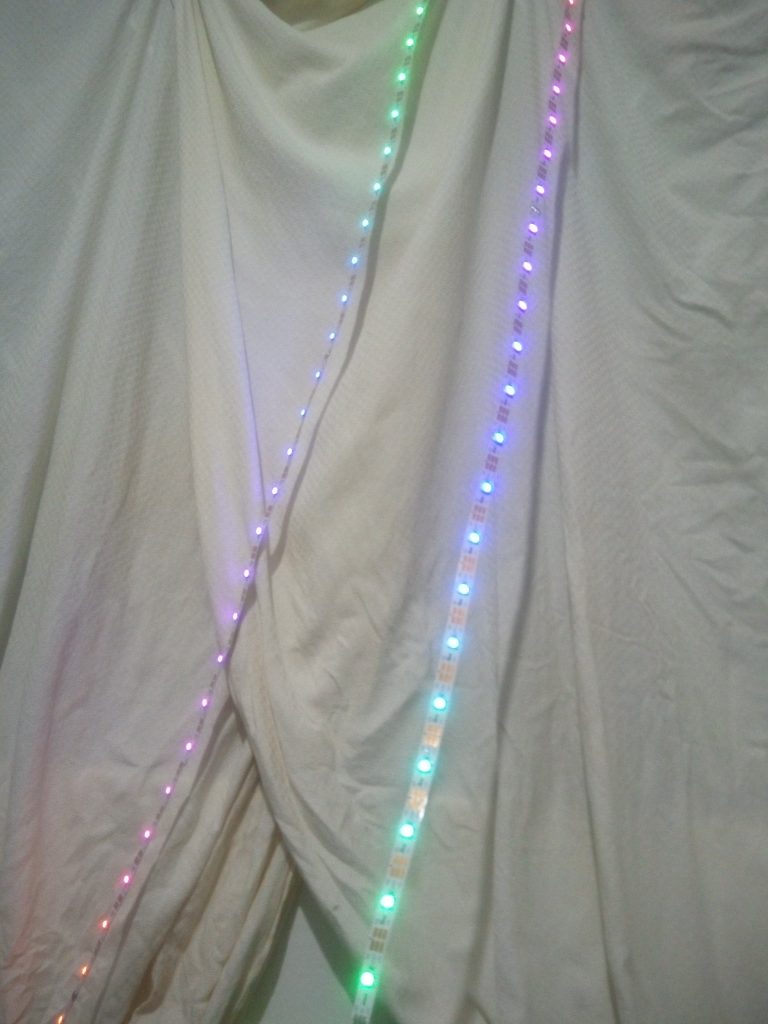
Also, I am using exactly 105 LED’s out of the 150 LED strip, I cut it to fit the window.
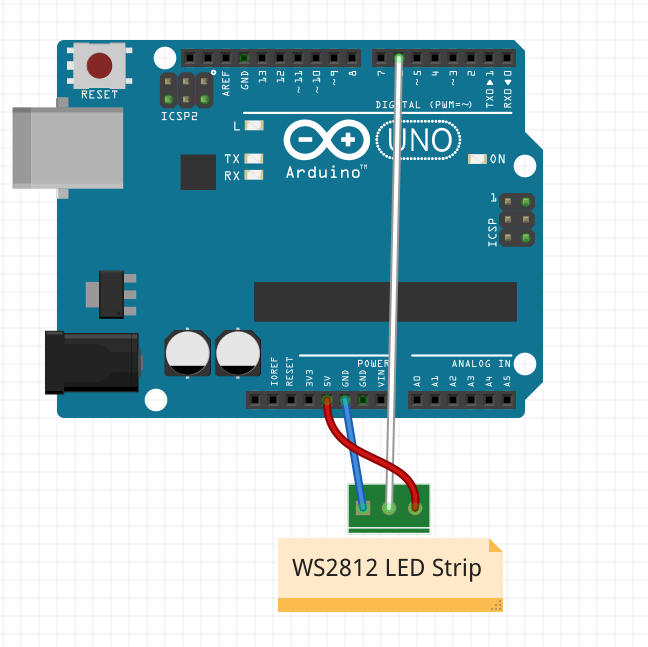
THE CIRCUIT:
THE CODE:
https://github.com/tomjuggler/105LEDChristmasLights
THE SETUP:
- Upload your code to the Arduino Uno
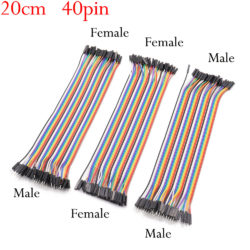
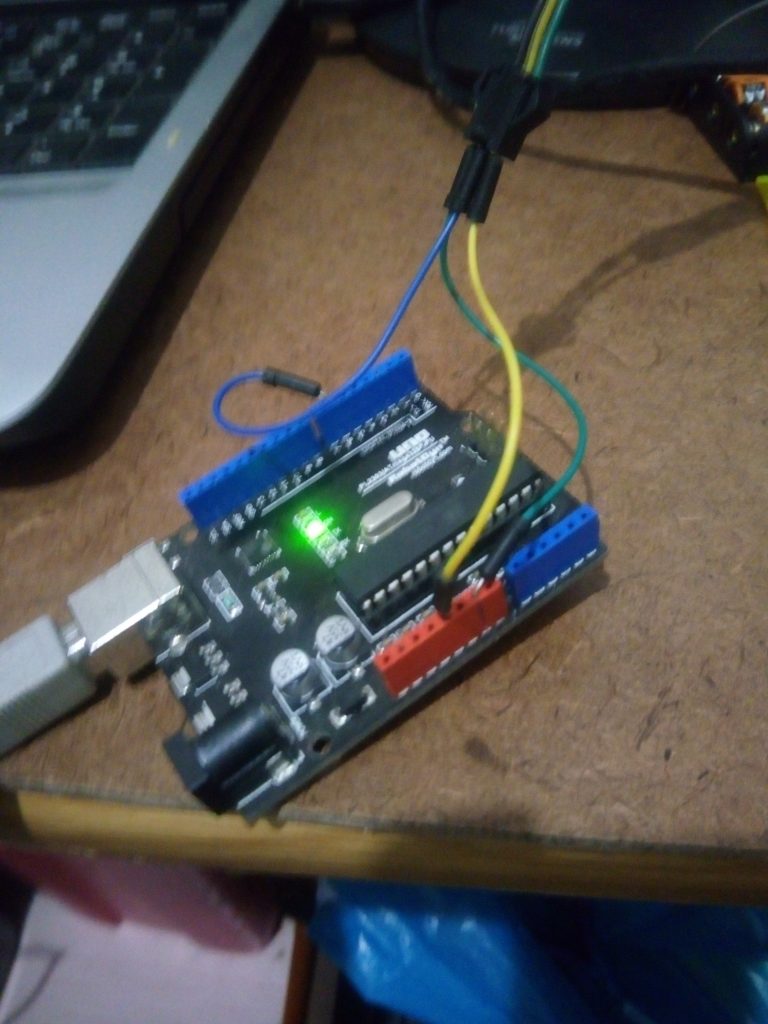
- Plug in the 3 jumpers, make sure not to mix GND and +5v!
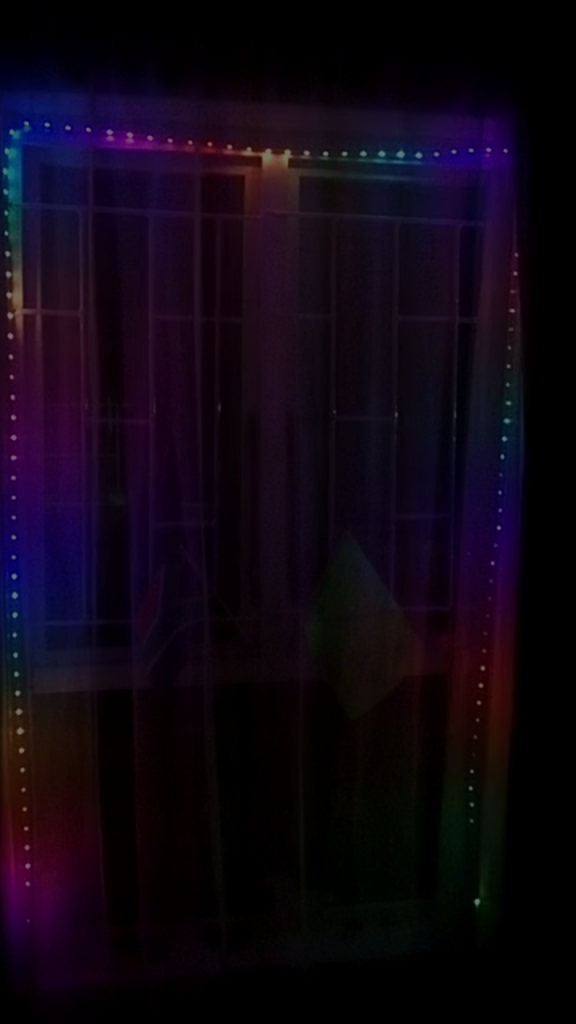
- Hang LED strip around edge of window (it looks really nice behind our net curtain)
- Plug in the USB cable to a wall outlet or charger and watch the lights!
MERRY CHRISTMAS EVERYBODY!