
I set up the real deal, from the movies! Laser beam sensors which are triggered when the bad guys walk through them!
Part One – Breadboard
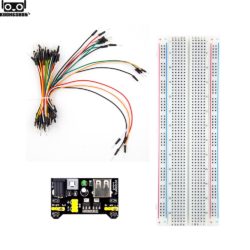
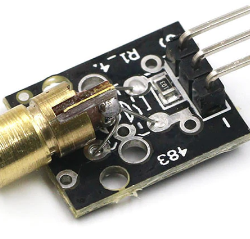
PARTS LIST:


putting it together:
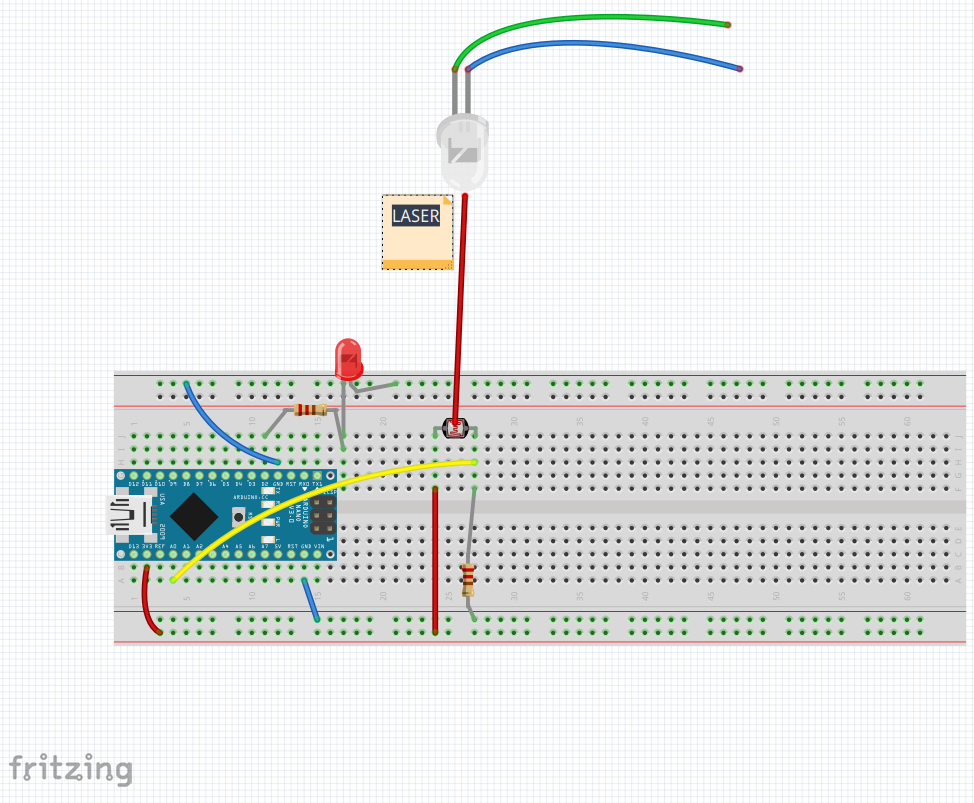
I powered the laser from the breadboard power supply linked above. Just follow the Fritzing diagram above for everything else, and please ignore the fact that Fritzing doesn’t have a “laser” so I had to use an LED instead to represent one…
The Arduino Nano I powered from USB – plugged into my Laptop for programming (remember to select “old boot loader” in Aduino settings for the cheap Nano clones).
Obviously this will all need to be soldered and powered separately for the real laser trip wire.
the code:
const int ledPin = 2;
const int ldrPin = A0;
int num = 0;
long currentMillis = 0;
long previousMillis = 0;
void setup() {
Serial.begin(9600);
pinMode(ldrPin, INPUT);
pinMode(ledPin, OUTPUT);
digitalWrite(ledPin, LOW);
}
void loop() {
int ldrStatus = analogRead(ldrPin);
// Serial.println(ldrStatus);
if (millis() – previousMillis > 50) { //only check every 50ms? seems to work great!
if (ldrStatus < 100) {
digitalWrite(ledPin, HIGH);
Serial.print(“ALERT!! “);
Serial.println(num++);
Serial.println(ldrStatus);
// Serial.println(millis()-previousMillis); //time from one lap to next!
} else{
digitalWrite(ledPin, LOW);
}
previousMillis = millis();
}
}
HOW IT WORKS:
The red LED is off while the laser points at the LDR. When the beam is cut, or the laser points away from the LDR sensor, the LED comes on, simulating an alarm. I also added some serial communication which will feature in the next step in the process of turning this into a working alarm.