
Smart Poi is currently getting a major upgrade (2024). Check out the blog for updates, or sign up below to get updates on the project – be the first to hear when we finally reach the crowd funding stage!
History:
I started making my own poi many years ago. The first project I made was a single colour version soldered onto stripboard. I used 30 LED’s on each side and an Atmega 328 for the brains. The LED’s had to be charlieplexed together – needless to say that was a lot of work, and I soon moved on to full colour LED strips.
After a brief time trying WS2811/2 LED strips, I discovered the APA102 version, which I am using today. The APA102 strip is a 4 wire protocol, with clock speed wire which means that it can be driven faster – fast enough for POV. For the processor I use ESP-01, Arduino Nano, or D1 Mini. All of these are really cheap, and the Nano and D1 Mini are breadboard friendly for prototyping.
Make your own:
I am going to be going through the steps one by one:
- Arduino Nano FastLED PC emulation:
This is using software on a PC to emulate the spinning poi – without having to actually spin the poi all the time. Very useful for testing. - D1 Mini FastLED PC emulation:
Same as with the Nano only this time with Wifi! - Android App to stream to ESP8266:
Offload the processing to a powerful smartphone and get so many features like beat reactivity, timeline, computer generated patterns, type in text and have it displayed instantly on the poi - Full smart poi:
I share the full PCB – needed for this higher powered version.
Also the full code necessary for all functionality. - Magic Poi – the future
What do you need for this?
Please if you are going to be following along with the project consider supporting my site hosting charges by purchasing using the links below. These are all products that I have purchased myself and am using right now.
-

10PCS 1.2v NIMH AAA Battery 3A 1000MAH
Buy on Aliexpress -
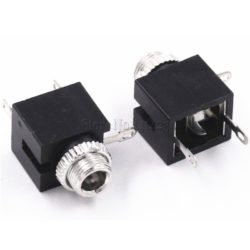
10Pcs Good Quality 3.5mm Female Audio Connector 3 Pin DIP Headphone Jack Socket
Buy on Aliexpress -
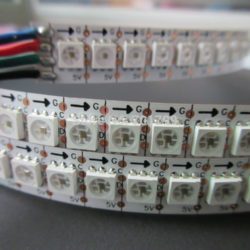
1m DC5V SK9822(Similar to APA102C) 144 px/m
Buy on AliExpress -
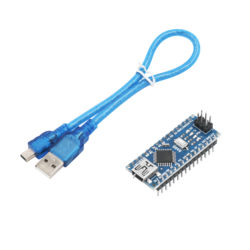
Arduino Nano 3.0
Buy on Aliexpress -
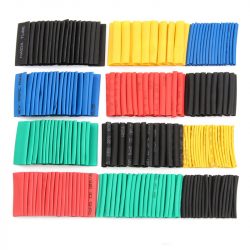
Assorted Heat Shrink Tubing
Buy on Aliexpress -
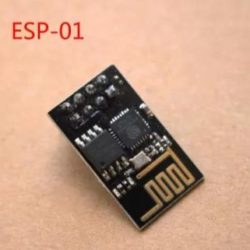
ESP-01
Buy on Aliexpress -
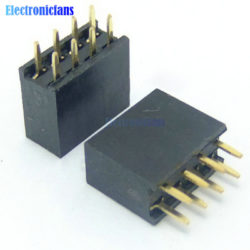
ESP-01 connectors
Buy on Aliexpress -
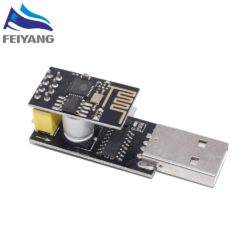
ESP01 USB Programmer
Buy on Aliexpress -
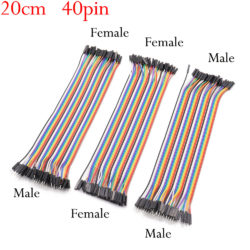
Jumper Cables
Buy on Aliexpress -
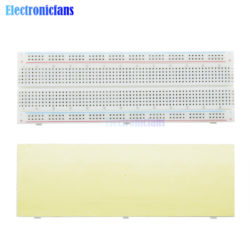
Large Breadboard
Buy on Aliexpress -
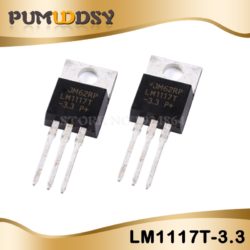
LM1117 3.3v regulator
Buy on Aliexpress -
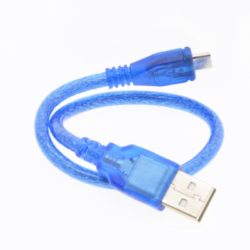
Micro USB Cable for D1 mini
Buy on Aliexpress -
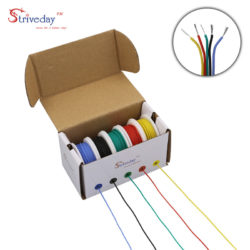
Thin Wire set, 5 colours
Buy on Aliexpress -
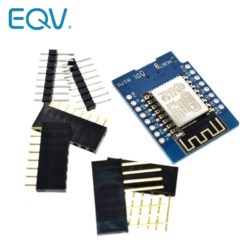
Wemos D1 Mini
Buy on Aliexpress
There is a more comprehensive list of components on the SmartPoi circuit page, along with pcb and breadboard design setup.
Time to get started!