
My son saw loves his Hot Wheels. We have tracks, multiple cars, and many addons like the Shark Beach Battle (his favorite) but many of these items are really costly. The latest Hot Wheels high tech item is called Hot Wheels ID, which is an Augmented Reality addon for your Hot Wheels play.
Naturally I was interested in attempting to replicate this using Arduino and some programming. The first part will be a basic Electronic Finish Line which is connected via USB to my laptop running a Serial capable Processing Sketch.
Finish Line in action:
THE CIRCUIT:
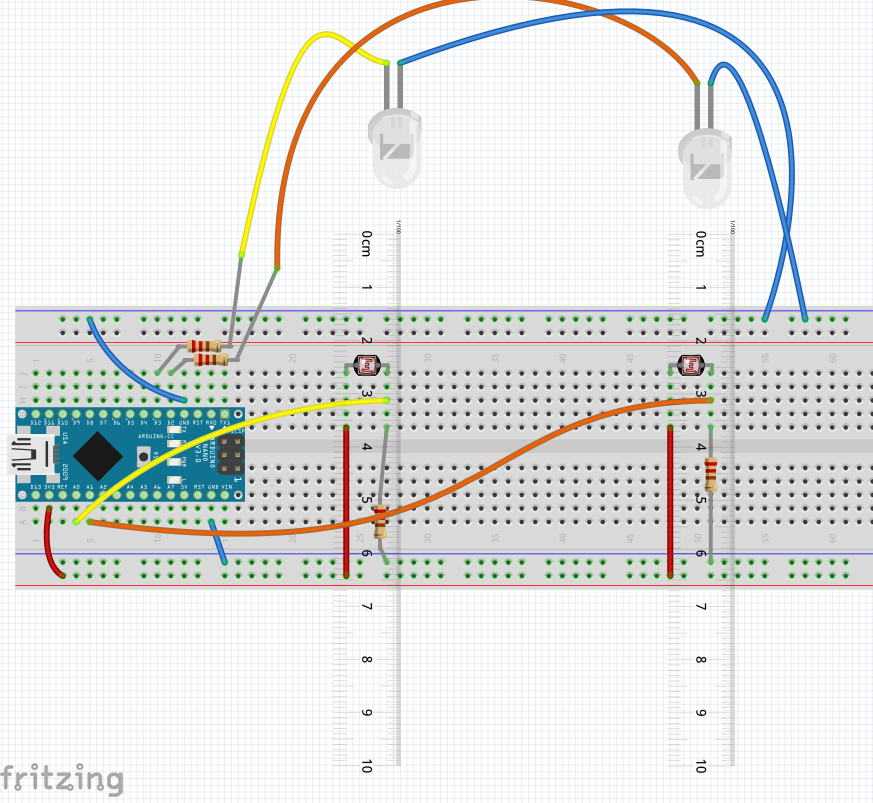
Circuit Breakdown
Here I have my favorite microcontroller, the Arduino Nano. I am using light detecting diodes, and IR LED’s to shine some light onto them. The code detects when a car rides past on the “track” – here depicted by the rulers – and interrupts the light shining on the sensor.
Components Needed
- Arduino Nano (with cable): http://s.click.aliexpress.com/e/eRFcAt7a
- LDR sensors: http://s.click.aliexpress.com/e/_dXZxF76
- IR LED’s: http://s.click.aliexpress.com/e/_dWDW0XW
- Breadboard, jumpers and power: http://s.click.aliexpress.com/e/_dZOJ5tQ
- 220 Ohm resistors: http://s.click.aliexpress.com/e/_dWmdcGC
- Crocodile clips: http://s.click.aliexpress.com/e/_dZbJC6G
- Hot Wheels track: http://s.click.aliexpress.com/e/_dTNskmU
Arduino Code
Here is the code on GitHub: https://github.com/tomjuggler/HotWheelsSensor1
Please note, if using the Arduino Nano clone from Aliexpress I linked above, you will need to select Tools -> Board -> Arduino Nano, and then just underneath “Board”, Tools -> Processor -> Atmega328p (Old Bootloader) if you want uploads to work on this.
If the sketch doesn’t detect a car, you may need to calibrate the sensors to reflect the light conditions. Calibrating your sensor involves checking the values output inside the Arduino Serial Console (in Arduino press CTRL + SHIFT + “m” in Arduino IDE) after uncommenting the following lines:
// Serial.print(ldrStatus); //testing// Serial.print(" ....... ");// Serial.println(ldrStatus2); //testing
Check what values are produced by a toy car going over the sensors and change the threshold here to be a little bit higher than that:
if (ldrStatus < 7) if (ldrStatus2 < 10)
Don’t forget to comment the Serial.print lines again before connecting the Processing Sketch on your computer.
Processing Code
Here is the Processing code on GitHub: https://github.com/tomjuggler/HotWheelsSensorWinner
You may need to edit the Serial Port values in there.
String portName = "/dev/ttyUSB0"; //this is Linux version
String portName = "COM1"; //this is for Windows
Check out your serial port value by going to Tools -> Port in the Arduino IDE.
How it works:
The Arduino code is set to check both light sensors. When one of the sensors registers below a certain value, it sends a signal via Serial to the Processing program running on connected PC.
When the “HotWheelsSensorWinner” program receives a signal it plays a sound “Winner, Lane One,” and displays a message. Clicking in the window will reset the program, and send a message back to the Arduino Nano to reset itsself as well.
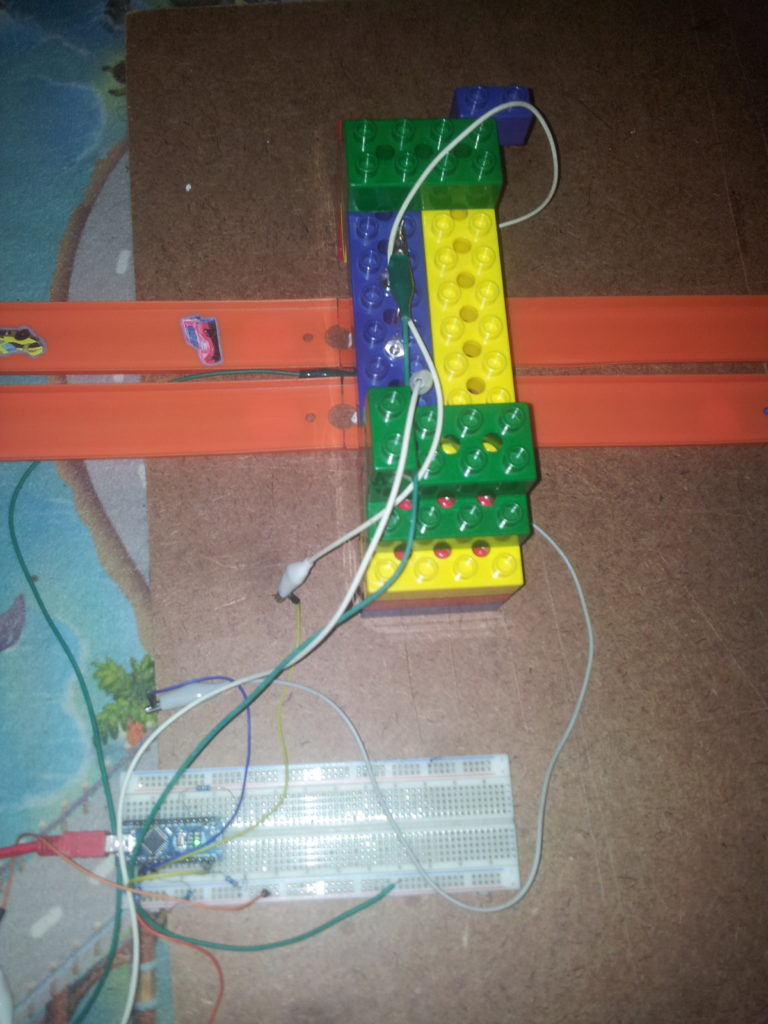
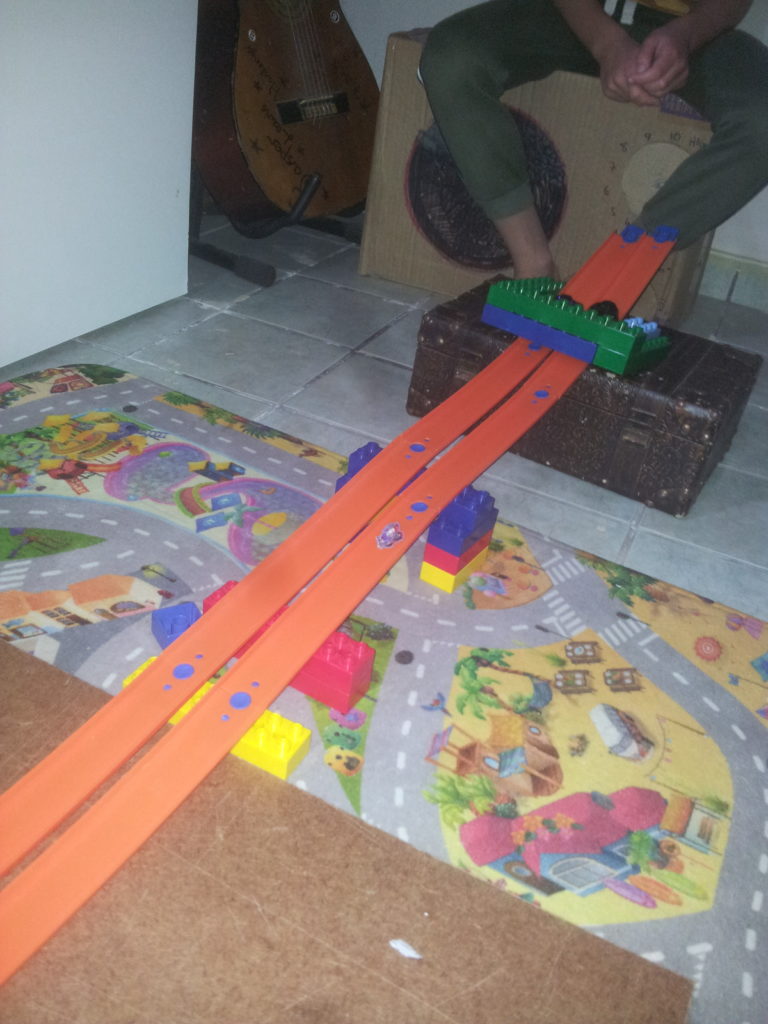
Setup and play
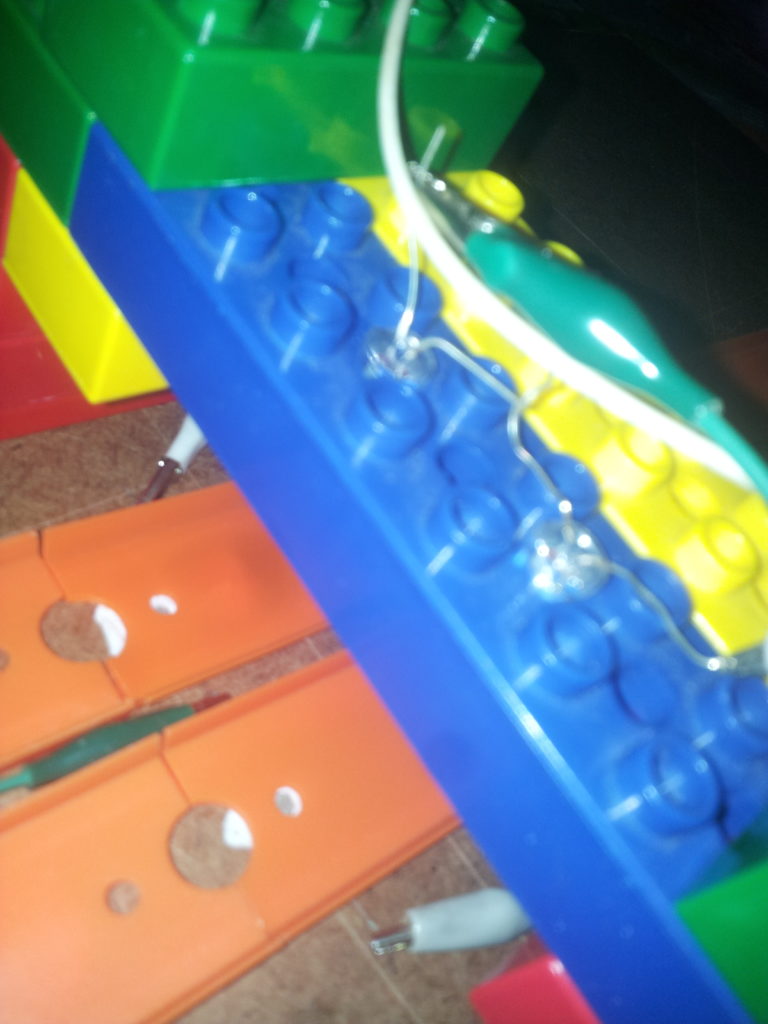
I used some of my son’s lego blocks to build a scaffold for the electronics. Also crocodile clips to connect the components in place. The Hot Wheels tracks have holes in them exactly the right size for the light sensors.
What’s next?
coming soon: make this wireless so it can work with an Android Tablet and add some 3d Game aspects. Also solder everything together 🙂