News article here: https://www.theregister.com/2025/01/27/deepseek_suspends_new_registrations_amid/
Two possibilities:
- Deepseek is lying and they just oversubscribed (you might have noticed they went viral with the excellent R1 open source model I have been using for the past week already on SmartPoi, Magic Poi and more)
- Someone is DDOSSING the heck out of them because they are jealous. Is it the US govt? OpenAI? Random hackers?
Annoying
Whatever the reason (and I really want to know so I can know who to be angry at!) it is affecting my work.
Thank you so much to my Patreon supporters for their contributions, the money is already in the Deepseek API account so I’m just waiting for access to be restored(!) before I can continue.
I did get some stuff done.
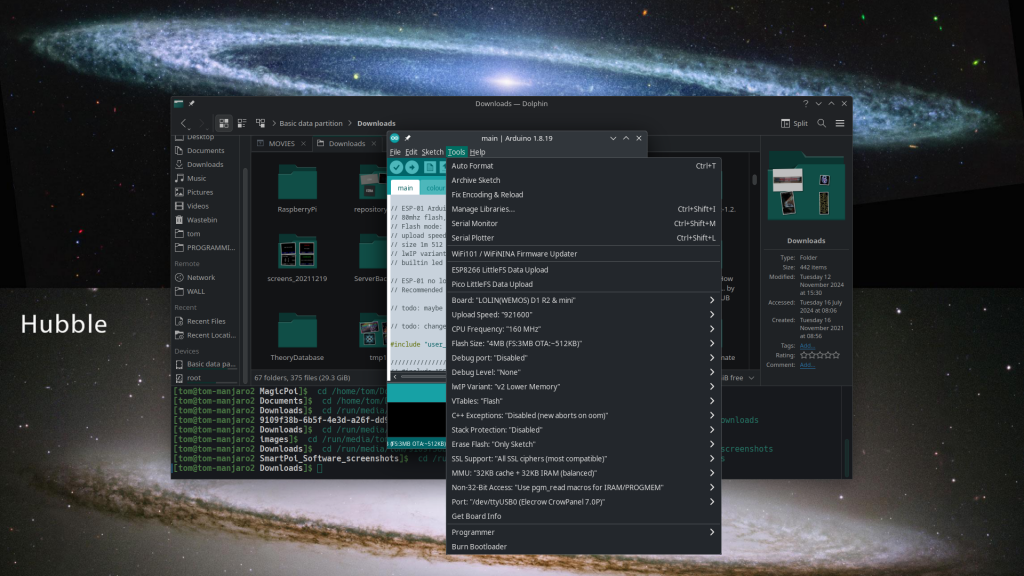
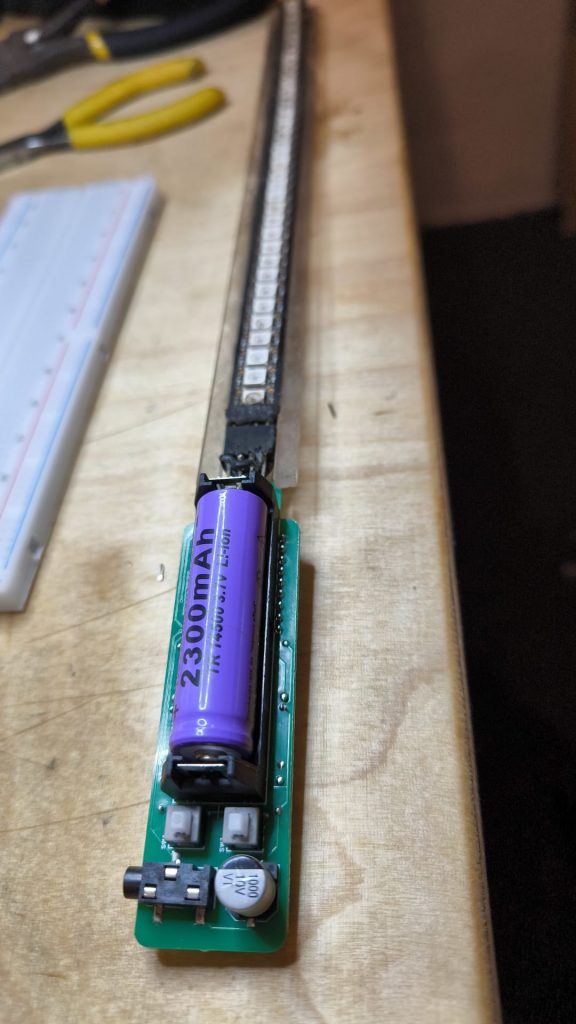
Did I mention that SmartPoi is now (almost) ported to the ESP32? The only thing that is not working is the LittleFS uploading, and that is really an Arduino IDE problem – I am trying to find a work-around but currently you can use it (just fire up the SmartPoi-js-utililities and upload some images). Check out the ESP32_2025 branch – but maybe wait a month (end of Feb?) by which time it will hopefully be merged into main (the whole thing is now working on ESP32/8266 with the same code base!!). Recommended: ESP32 S3 Super Mini (available on Aliexpress). This is the actual chip that Magic Poi will run on! Don’t get it confused with the ESP32 C3 Super Mini though – that one is single core only (and half the price – I have some C3 here and SmartPoi works on there too.)
For this new ESP32 branch I have even re-enabled the UDP streaming (which you can try using the old SmartPoi Android app). The new Android app for uploading and switching pics works as well. I haven’t tested UDP yet but if you use a dual core ESP32 S3 the WiFi runs on a separate core to the display code, which means it might actaully work now (I disabled it due to stuttering images).
This is hard work
Once again I appeal for support! Please help me by joining Patreon (it doesn’t cost anything to join) and subscribe to a support option if you can.
I just got here, what is SmartPoi, Magic Poi and DeepSeek?
SmartPoi project – WiFi connected POV Poi
Magic Poi – Internet connected upgrade to SmartPoi (work in progress)
DeepSeek AI – Right now the world’s second most powerful large language model when it comes to coding. I use this extensively to develop open source apps faster. Cheaper than ChatGPT but not free – hence the Patreon 😉
UPDATES:Sign up for our update alerts: