TLDR:
Some old Circus Scientist services have to go, in order to move forward with new projects. This is due to Ubuntu Server upgrade (not intentional)
Outline:
There are two ways to look at things in software:
- Keep things compatible and working no matter what. I think of this as the “hoarder” mentality (think Microsoft)
- Move fast and break things (aka Google)
I guess I try to keep a happy medium, leaning towards the “hoarder” side. Right now though, something is going on that I don’t have any power to change. The Ubuntu Server version 20 which I have most of my “experimental” services on is going EOL in a few months.
I don’t have a choice – I need to upgrade all of my online projects. Sometimes this is as simple as upgrading Ubuntu in-place but due to Python version updates this time it’s impossible. Each service has to be updated and put on a new version of the server – I’m using the latest LTS version, Ubuntu Server 2024.
What is going away
- LED Website Indicator. I really love this project, my first fully integrated Web and IOT project. Basically nobody cared except me. I’m going to open source the Arduino code at some point, some parts are already are available on GitHub.
- MagicPoi old website. There is already a new version with most of the same functionality (my patreon subscribers have had access to this for a while). This was my first really large Flask website with an api accessible from ESP8266 and is a bit old and insecure now. I have a backup if anyone has data from there that they need to get back, just send me an email and I will sort you out.
- AI Site Generation. A fun project that was just for learning purposes really.
- Monkey Detector (web version with api). Another learning project, not being used.
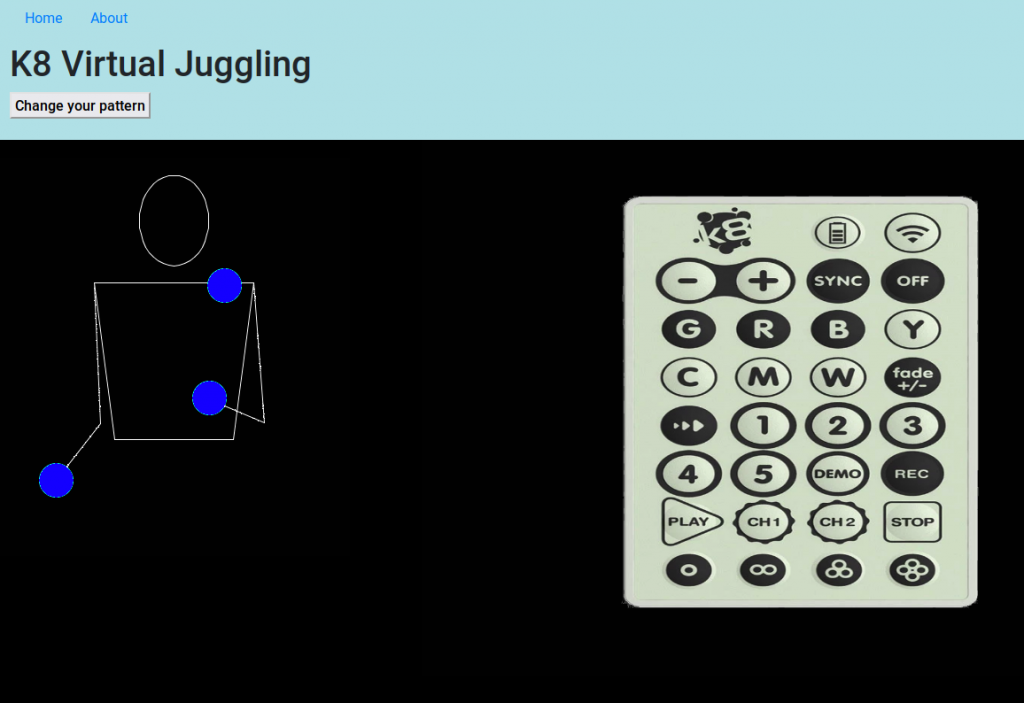
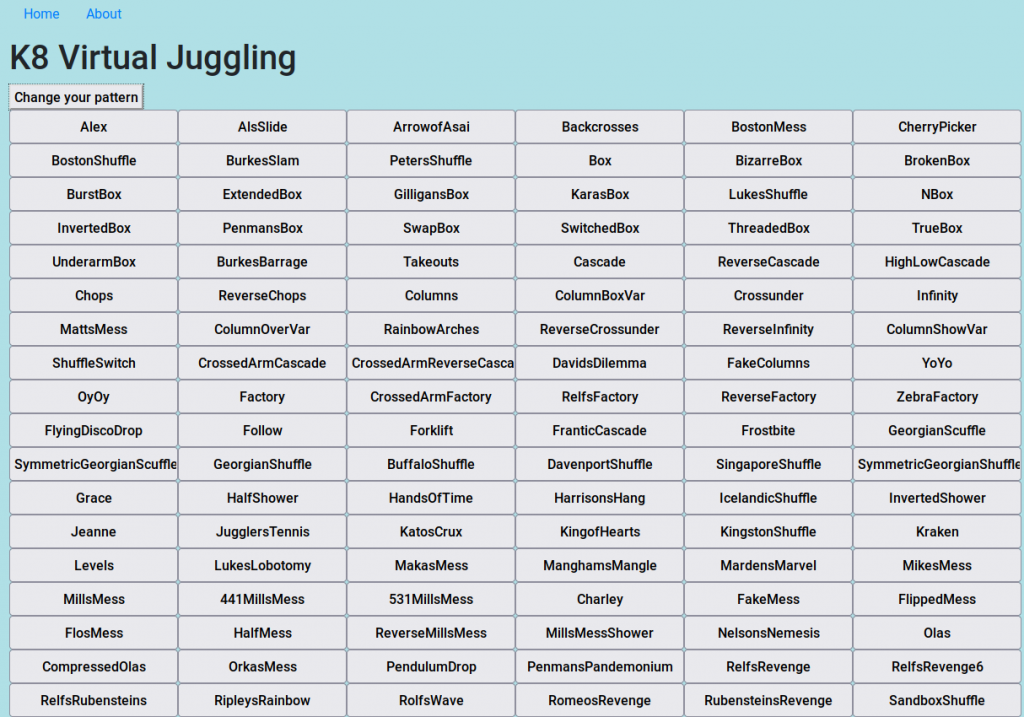
- K8 Juggling. Very old fun service.
- Invisible Deck Practiser. Just a JavaScript version of an Android app (magic).
- Other personal sites not related to this blog.
Temporary disruptions
Several other services need to be migrated, this may take up to a week depending on the complexity. Expect disruptions.
- SmartPoi Downloader
- The new alpha version of magicpoi site (with api)
- devsoft.co.za
- show.circusscientist.com
- Other personal sites not related to this blog.
Conclusion
Sometimes you have to break things in order to move forward.
Everything that is moving to the new server is going to have proper Python virtual environments with up-to-date libraries. More secure, faster, future proof.