Fritzing is a great open source project. It turns out that plugging wires into a breadboard is a great way for 5 year olds to develop hand-eye co-ordination, so I have started making some kid-friendly projects for my son.

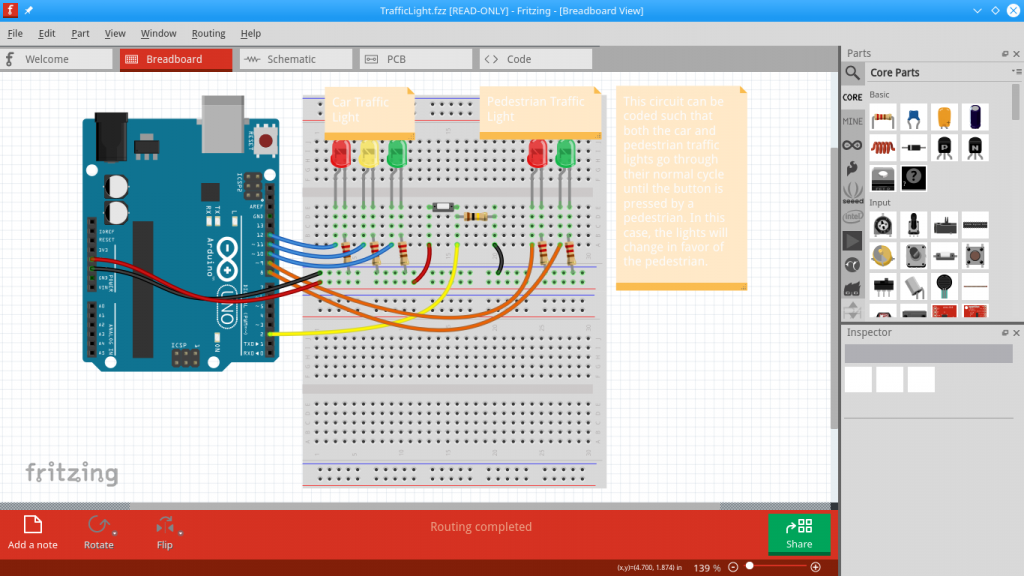
The first was a traffic light project. This is conveniently located in the Fritzing examples, although you have to go to their website (link) to get the Arduino code. They use an Uno as controller, but I prefer the breadboard-friendly Nano. I didn’t have to make any modifications to this project for it to be fun, apart from using the Nano instead of the Uno in the screenshot, and adding a blue LED with a separate switch, as my son insisted on having his favorite colour represented.
This project offered multiple opportunities for learning. For one, it’s a working traffic light, so we went over the rules with some of his lego characters, look before you cross, press the button and wait, etc. Secondly I left the jumper wires to my son to plug into the board, and tried to explain a bit about DC current as well. We had fun turning the LED’s the wrong way, I just made sure the board wasn’t powered when he was busy plugging things in.
For power I used a power bank, plugged into the nano with USB. The power bank has two outputs, so we can have two projects powered at the same time. There are quite a few projects which are fun for kids, and since my kid loves “helping his dad” it’s going to be something I will be doing a lot in the future. More to come soon.
