
Recently I have been trying out cursor IDE – based on VSCode.
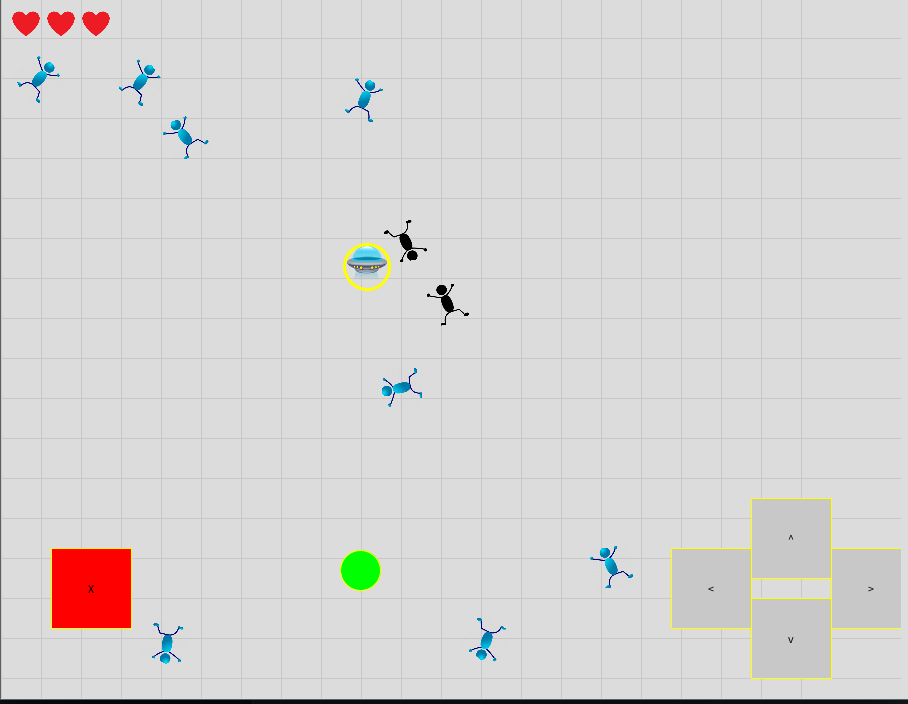
My verdict is: it’s magic. After trying out several others including Github Co-pilot, I have to say that in my opinion this is the future of coding. It’s so easy that after I set it up for him, my son spent a few happy hours prompting his way to a really fun Android game, without writing a single line of code*. You can download and and try it yourself! I especially love level 2 where you have to fight poop emoji’s – fire at will! Just be ready for level 3 where a bug new feature means you can’t fire, and have to collect powerups and ram the enemy ships.
*OK I helped with the image files and debugging, compiling for Android etc..
The future of coding is awesome. That’s why I have now made a patreon account, where you can support my AI addiction – unfortunately cursor and other services I love to use are not free. Help me by subscribing with a few bucks please! https://www.patreon.com/CircusScientist. I promise every cent will be spent on products and services to improve my open source code (currently focused on finishing the awesome Magic Poi)
