SmartPoi File List

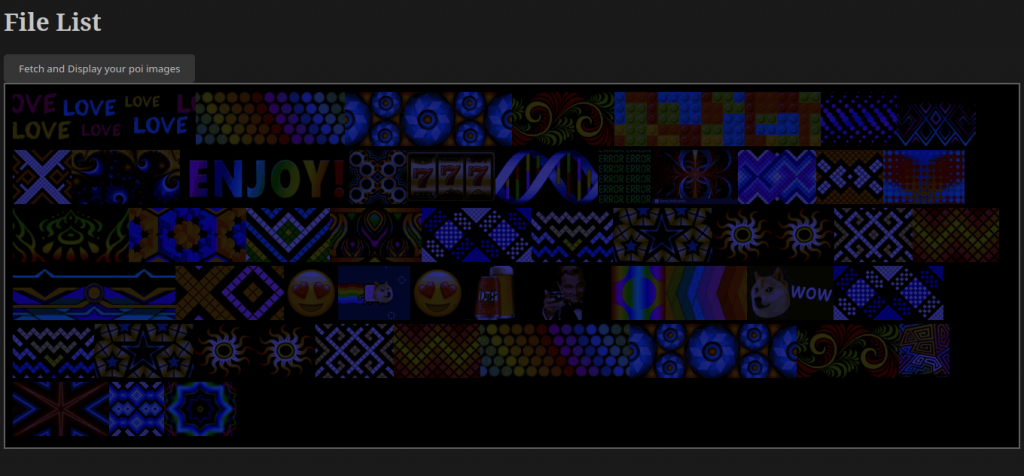
Just a quick one to let you know that SmartPoi has a server (running on the lowly ESP8266) which means I can do stuff like this:


The html to do this is now on GitHub here: https://github.com/tomjuggler/SmartPoi-js-utilities – usage is in the README.

Basically it fetches a list of files from the poi and then fetches each compressed binary file in the list, decompresses them and displays the resulting images. Up until now the only way to see what was actually on the poi was to spin them, so this is definitely an improvement. This is all done using the SmartPoi AP – no internet access required!

Any day now* I will be upgrading my poi to work with ESP32 but until then I’m still trying to make the ones I use in my shows better!

*I am aware I have been saying this for a while now 🙂

I made an LED indicator for my portfolio site

Job hunting is tough – I’m busy until February 2022 but already feeling anxious about finding the next gig. That’s why I wanted to give myself a bit of an incentive – a visible indicator of success. I decided that whenever someone visits my portfolio site, I wanted an LED to light up. Read on to find out how I did it (using Flask, http requests, and an ESP8266)

Self Hosting

I recently had a bad experience with an online service shutting down on me – had a bit of a rant about it, although in the end it wasn’t too serious – but I am now determined to do self-hosting wherever possible *disclaimer: my current work project is hosted on Google Cloud, and I’m using Firebase and push services for some Android apps also.

The Flask api

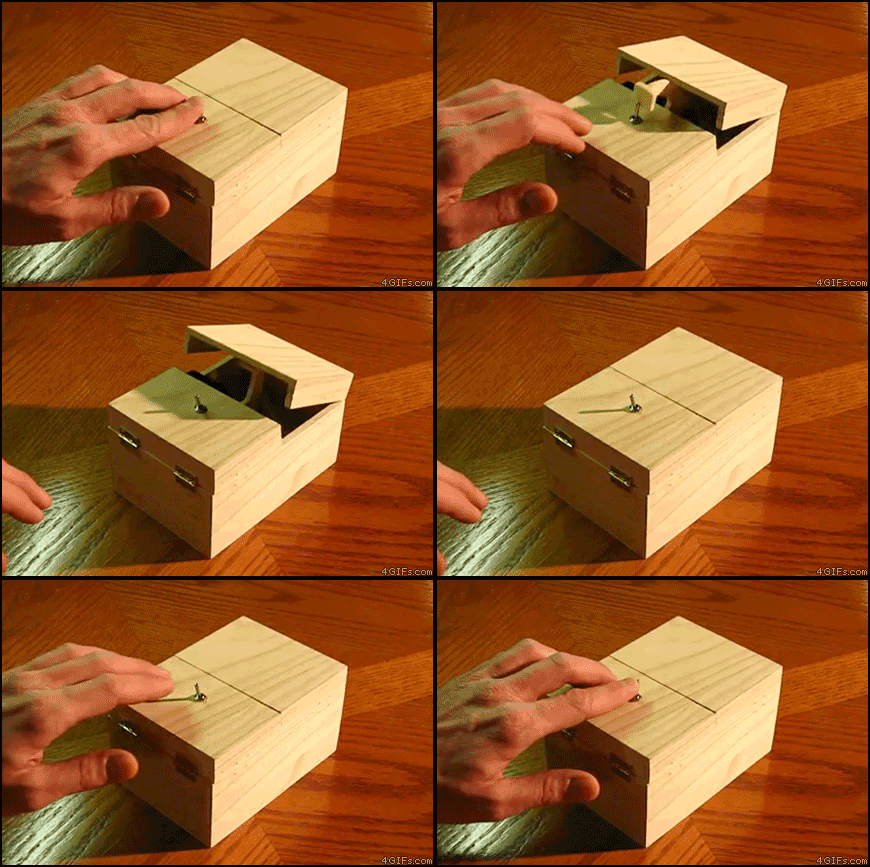
The first step was to create a simple Flask api to facilitate tracking of site visits. This is based on this minimal flask api template on GitHub. I used a simple global variable to keep track of website visits because I’m doing this in my spare time and because it works fine – and I love boolean switches. Here is how it works in one simple gif:

Think of the hand as a visitor to my site, and the “switcher offer” is the ESP8266 at my home checking the api (the switch)

HTTP request from resume site

Since I am learning React my portfolio site was a good way to have another look at the framework. I used this single-page React resume site template as a base, adding my own details and an http request to the Flask api endpoint on load.

ESP8266 code

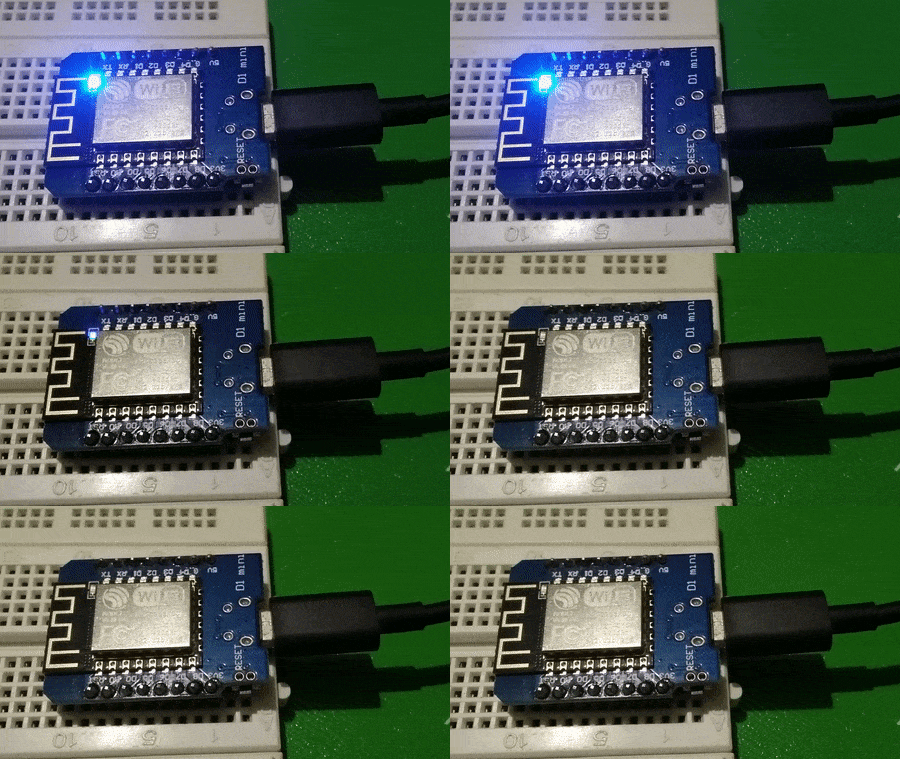
I used the basic http requests example with my own api details, and added in EEPROM code to record the incrementing number of visitors to persistent memory. The ESP8266 module checks once per second with the api whether there has been a new visitor to my site. If there has, the built in LED on my D1 Mini switches on. Although I have mostly moved over to using PlatformIO, for this very simple sketch I used the Arduino IDE.

Deployment

Like I said, this one is self-hosted. I’m using Digital Ocean droplets, which are a fixed cost of 5 dollars per month, for as many sites and services you can cram on there (trust me, it’s a lot). The React site was surprisingly simple to deploy, just build, copy the build folder and point Nginx at it. Flask is a little bit more complicated, compared to how easy it would be on Google Cloud, for example, but a few config files are really not too much to handle.

The result

Whenever someone visits my website, the LED lights up. Simple as that. And I can plug in and check how many visitors I have had. I’m hoping that one of those visitors will like what I do enough to hire me next year!

Visit my site https://devsoft.co.za to light up my visitor tracking LED.

Potential improvements

If I was making this into a product, I would certainly upgrade the Flask API to include a database to keep track of the number of visits, rather than doing this on the ESP8266 EEPROM – which maxes out at 255!* Obviously this could include a web interface for accessing the information, I could log the times… But most of this tracking stuff has been done already – analytics for websites. Perhaps the ESP8266 could pick up some of this information and display it on an LCD screen. A flask service for accessing Google Analytics from Arduino perhaps? Let me know if this is something you are interested in!

Also, proper authentication – if this wasn’t just for myself… JWT, rate limiting, CRUD endpoints and a web interface to change LED behaviour.

And maybe an RGB LED would be nice, then I could add in some of my other websites, in different colours!

*apparently the Arduino EEPROM library works differently on ESP8266 – ignore that part of the code, I need to update it (the counter still increments while the module is plugged in, though)
ESP8266 libraries treasure trove

While looking for a new WiFi manager for my SmartPoi project, I stumbled upon a great resource: https://www.arduinolibraries.info/architectures/esp8266 – a list of Arduino libraries broken down by architecture.

Just having a quick look, I have noticed some great libraries to help improve my ESP8266 based projects (I haven’t had a chance to look at these yet, but looking forward to it!):

some interesting esp8266 libraries:

  1. https://www.arduinolibraries.info/libraries/esp8266-timer-interrupt
    – interrupts for ESP8266! So useful.
  2. https://www.arduinolibraries.info/libraries/esp_eeprom
    – Speed up EEProm and add wear levelling
  3. https://www.arduinolibraries.info/libraries/firebase-esp8266-client
    – Firebase? On ESP8266? Sounds like a challenge!
  4. https://www.arduinolibraries.info/libraries/mini-grafx
    – graphics library, not sure which displays this supports…
  5. https://www.arduinolibraries.info/libraries/process-scheduler
    – process scheduler, is this easy to use though?
  6. https://www.arduinolibraries.info/libraries/restfully
    – hopefully this is better than doing it manually
  7. https://www.arduinolibraries.info/libraries/rich-http-server
    – more http requests wrappers
  8. https://www.arduinolibraries.info/libraries/settings-manager
    – store settings in .json
  9. too many WiFi config libraries to list here, I saw at least 15!

These are only the few I was interested in personally, the site lists 244 libraries for ESP8266. Check it out!

Stripboard Sucks

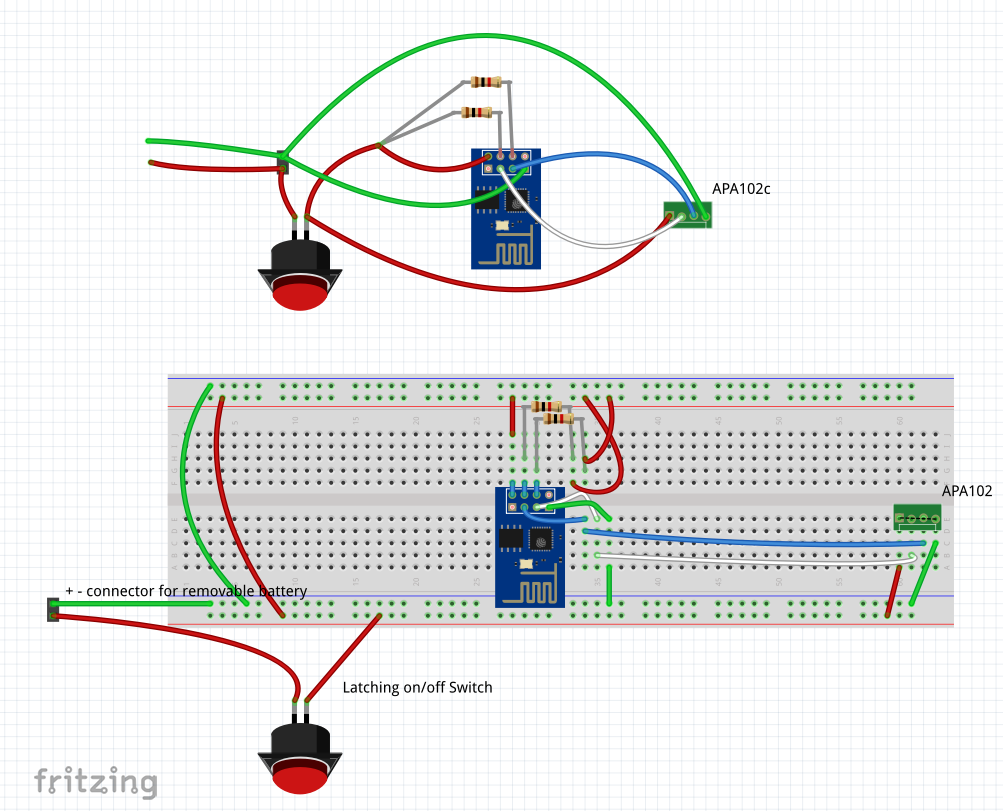
I have been trying to make my poi easier for anyone to duplicate by eliminating the costly custom circuit board. So I tried to make it on stripboard, which was a disaster. Here is the idea:

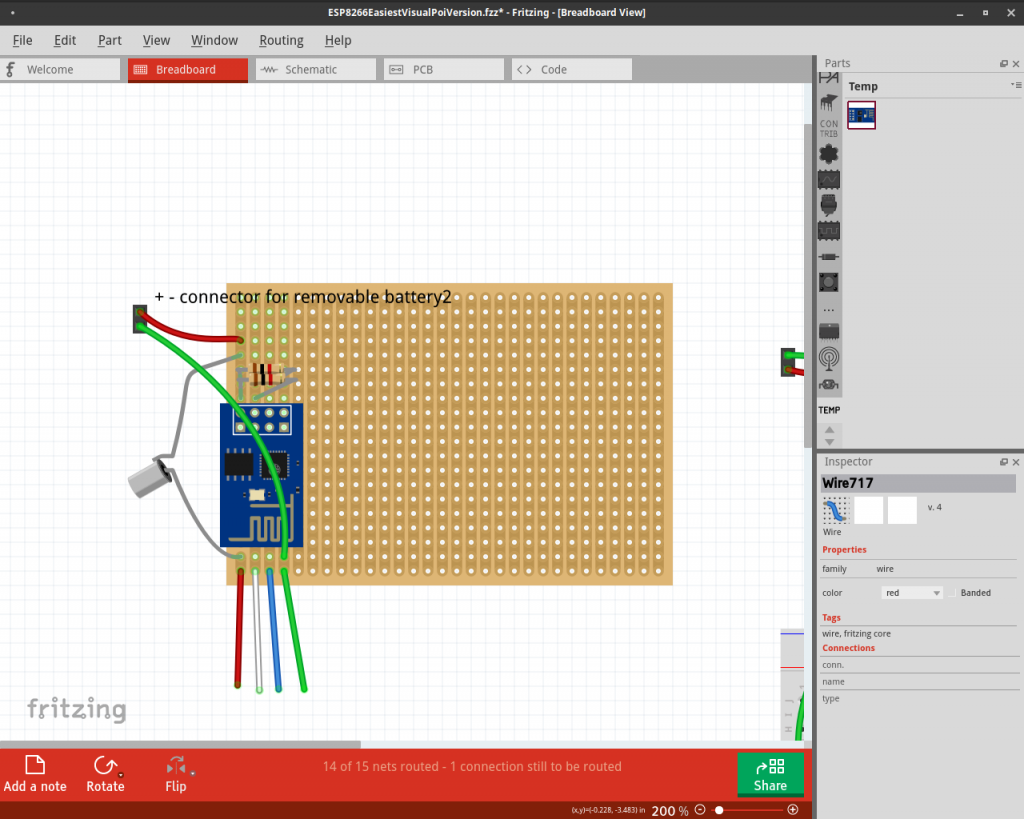
And here is how it ends up looking on the stripboard (with tilt switch):

So that looks great and all but in practice, having to cut the stripboard and solder and everything else, there are too many possibilities for shorts and troubleshooting it was turning out to be a nightmare. There are 18 solder points on the board above, not to mention cutting the metal on the stripboard (under the esp-01)

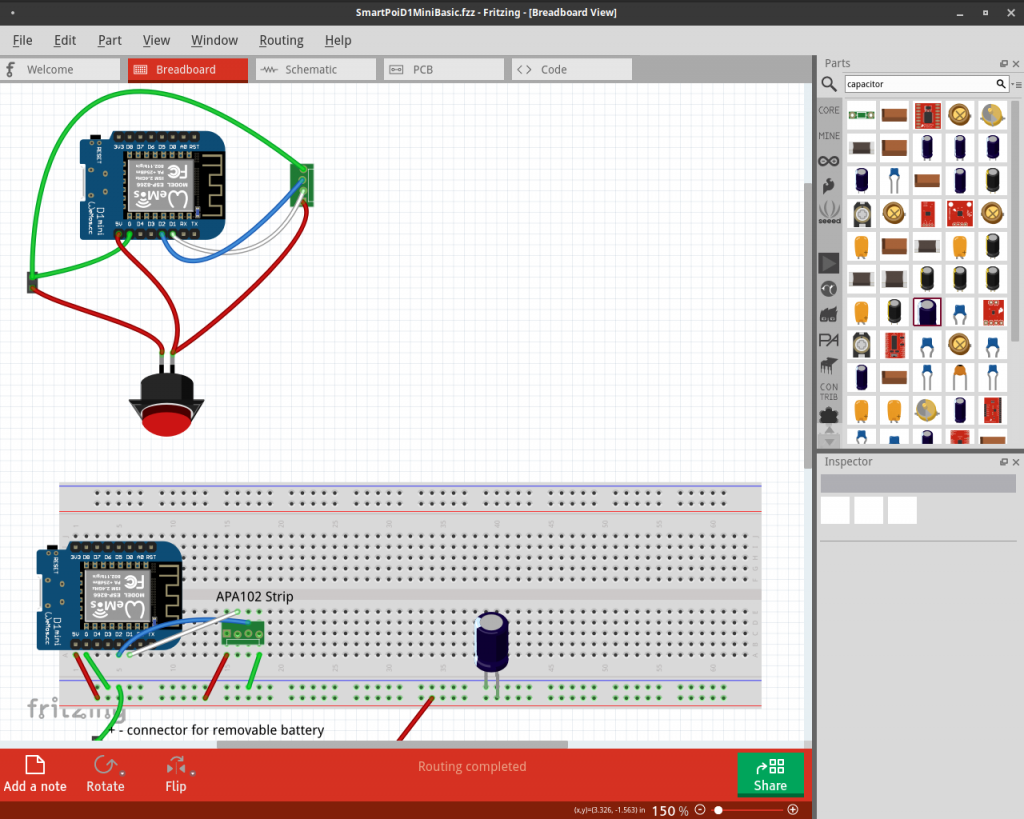
Here is another idea, I am trying to make this simple, the D1 mini costs just $1 more and can run on 5v which is the right voltage for the LED strip anyway. This is the new circuit:

Now we have only 9 points to solder (not including the LED Strip, I didn’t include it above either).

I also re-imagined my poi outer shell, to give access to the usb programming port on the D1 Mini, so this will help with development as well.

Looking forward to putting this all together, and updating my tutorial series (if it all works as planned)

Simple D1 mini Circuit

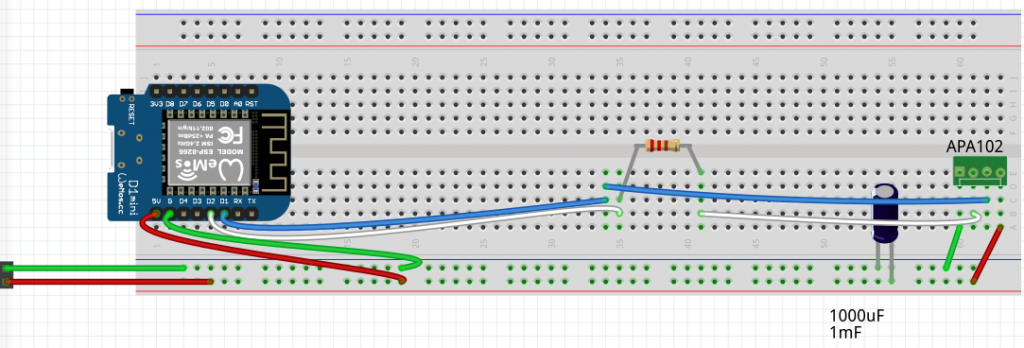
Although the Smart Poi is based on ESP-01 for size reasons, I find it easier to use the excellent D1 mini for testing. Here is the basic setup:

Notice that the D1 mini is powered from a battery source (4 x NiMH AA in series). This is not entirely necessary, you could get away with plugging in the D1 mini via USB, and connecting the APA102 strip to the 5v pin. The problem comes in when the LED strip starts drawing too much power, you will have dropouts in Wifi connectivity, or wdt resets and won’t know if it’s the code or just power.

Use the offline code from my Github repo to get started:

SmartPoiOffline code

This code works fine on other Arduinos as well as ESP8266 chips. Just change the pins.


Programming the ESP-01 using Arduino IDE – some notes

The ESP-01 are so cheap and versatile, you just have to use them. (Get one on Aliexpress for just $2 here: http://s.click.aliexpress.com/e/kNB84VvO) In the couple of years using these amazing cheap powerful chips, I have had my share of problems. Here are some big ones to avoid:

Problem: The programmer doesn’t work all the time.

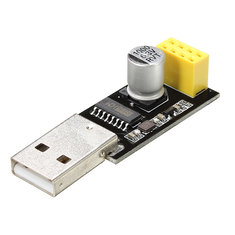
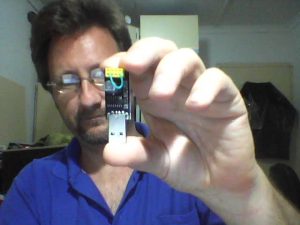
Solution: Increase power. I use a cheap usb interface like this one: 

You can buy one on Aliexpress here: http://s.click.aliexpress.com/e/E7AiIOhw

First of all you need to know that you can’t just plug the ESP-01 module into the handy header socket and press upload on the Arduino IDE. You will get an error, as the ESP-01 needs to be put into programming mode. I did this by shorting the GPIO 0 and gnd with a wire. The ESP-01 still plugs in.

Now Arduino can upload! Unfortunately I was having intermittent “unable to upload” errors even after this hack, and a new batch of ESP’s from a different supplier barely worked at all. Something else had to be done. Adding a breadboard power supply did the trick, unfortunately with the addition of 7 wires and a breadboard, as well as an adapter for the ESP-01 and a switch to toggle programming mode…

*Update: you can ignore the above, nowadays I just click on upload and quickly unplug/re-plug the esp-01 (unplug the 8 pin header, not the usb!). Seems to do the trick!

Problem: Blink sketch says it’s uploaded but LED doesn’t blink.

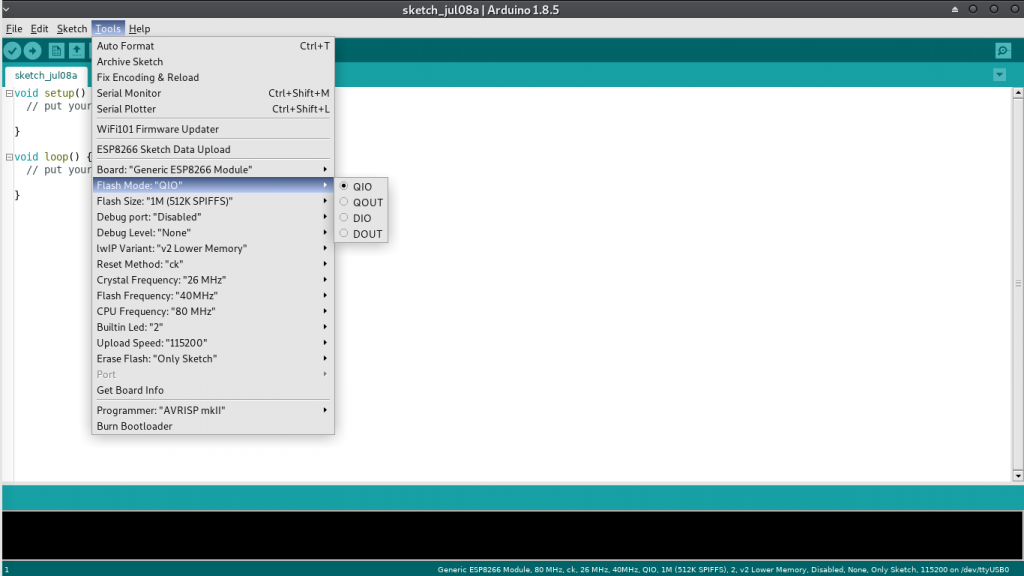
Solution: After checking the pin numbering and seeing some possible related issues on a google search, I checked out the Arduino ESP8266 settings.

It turns out that all ESP-01 are not made equal. Most come with 1Mb flash but the type of flash (?) and the way it’s connected can vary. Hence the “flash mode” option. In my case, after extensive testing, DOUT was the correct choice. The LED blinks again.

Problem: After ESP8266 tool update, the dreaded WDT reset happens after a few minutes (time depends on what the program is doing)

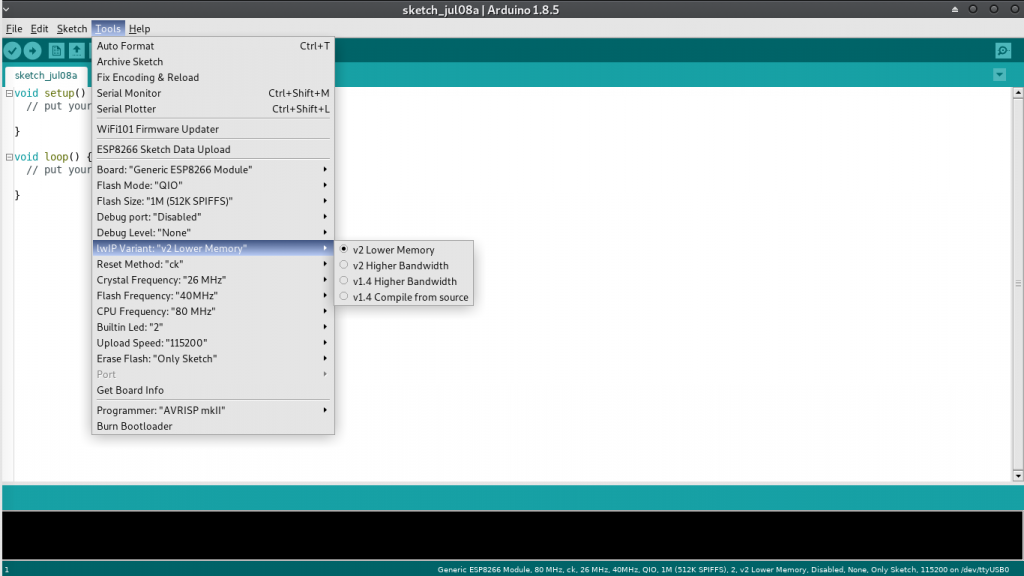
Solution: After some testing I found it was a memory overflow causing the issue. This led me to refine the google search and finally I found a relevant bug on github, to do with LwIP (the wifi firmware?). Here is the setting in Arduino:

Changing to LwIP v1.4 Higher Bandwidth worked for me… It’s possible that this bug has been fixed by now, but I am sticking with the working version at the moment.

To summarize,  ESP-01 is a bit tricky to program, there are so many variables in programming it, however they are so small and cheap – and despite many mistakes I have yet to brick one of these. I guess it’s worth the hassle*.

*UPDATE: CHECK OUT MY SMARTPOI PROJECT, made with the ESP-01 and APA102 LED strip.

ESP8266 Overview

What can I say about the ESP8266? It’s cheap, powerful and I use it to stream images from my phone to my Smart POV Poi.

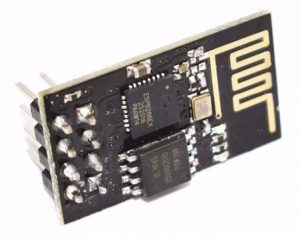
Currently I am using the ESP-01 version (above) – I connect the esp-01 to the breadboard by this simple hack:

http://www.instructables.com/id/Making-ESP8266-01-module-breadboard-friendly/

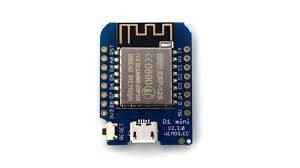
I also use the very capable D1 Mini for development (below).

The code is all Arduino, with FastLED library for led driving. The only issue with ESP8266 is power consumption, the wifi uses far more power than the Atmega328 for example, however compared to the LED strips (144 LED’s at once) it is negligible.